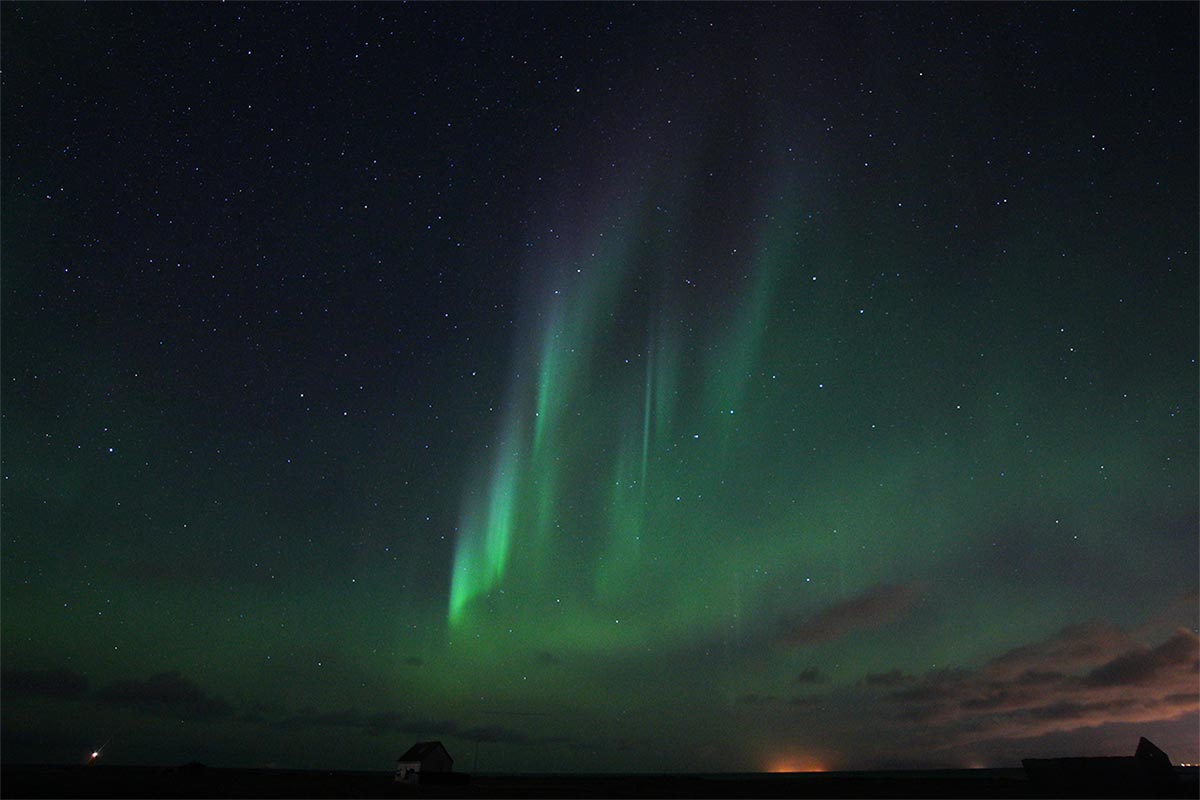
Northern Lights Photography for Beginners
This How to Photograph Northern Lights guide is written for beginners in Northern Lights photography. We do however assume you have a basic knowledge of photography in general as well as having or wanting to get the necessary equipment. The biggest difference with night-time and daytime photography is Manual and Automatic. The Auto setting on your camera only works with daylight or flash light and when Photographing the Aurora Borealis you have the help of neither.
The 9 essential camera settings for How to Photograph the Northern Lights:
1. Set to Manual; Camera and Lens
2. Image Stabilization Off
3. Flash Off
Because it doesn’t work on Northern Lights, will overexpose your photos and blind you in the process.
4. Aperture (F-stop) at the lowest number
Steps 4, 5 and 6; Aperture, ISO and Shutter speed are the magic settings! In combination these are what make the Northern Lights appear on your photo. You want the lowest Aperture possible, to take in the most light.
5. ISO 1600-3200
The higher the ISO setting, the grainier the image will be. So you want your ISO high enough to allow for the shortest shutter time. But also low enough to keep picture quality.
6. Shutter Speed: Start at 8 sec. and adjust as needed
Once you have done your test shots and are happy with your settings, the shutter speed is the only setting you need to adjust and re-adjust throughout the evening as the Northern Lights brighten or dim.
7. Mount Camera on Tripod
8. Connect Remote Control or Set Timer to 2 sec.
9. Focus on Infinity
Check this regularly as the focus might move if you touch or move the camera.
Click here for a more detailed explanation on the settings for How to Photograph the Northern Lights.
Other Tips:
1. Study the forecast before you go out to make sure you know where to go, and learn about cloud behaviour.
2. Check your focus regularly to make sure it isn’t off accidentally.
3. Zoom out completely to capture as much of the sky and surroundings as possible.
4. Check your photos and adjust the shutter speed as needed throughout the evening.
5. Check your lens regularly as it can fog up in the cold night air. Keep a lens cloth in your pocket.
6. Think about foreground and the framing of your photo.
7. Shoot in RAW only if you know the post processing. Otherwise JPEG is the format you want.
The Gear You will Need
Camera:
You will not need a budget-busting professional full frame camera as you can easily get away with the wallet friendlier cropped frame versions. If you can set the camera to Manual mode then you’re good to go.
Lens:
You must be able to operate the lens manually and set the focus to infinity. We recommend a wide angle lens to capture more of the sky, but that is optional. Also, bear in mind that a cropped frame camera lens is always narrower than full frame. If you are using a cropped frame camera we recommend a 10-12mm lens.
In the end though camera gear is a personal choice so choose what suits your needs. Click here for an article on How to Choose the Right Gear.
Tripod:
This is absolutely a necessary item for your How to Photograph Northern Lights. You are taking the pictures on long exposure so the camera needs to be very still. You can not hold it still enough and you WILL get a blurry photo if you try. Yes, you could pop your camera on the hood of the car or on a rock. But, if you are reading this manual it’s because you want a good Northern Lights photo. So get a cheap tripod, or a lightweight one that folds, whatever suits you. Here’s a handy guide on How to Choose a Tripod.
Remote Control:
This is not necessary, but pressing the shutter directly can potentially give you a bit of a camera shake, and a blurry photo as a result. You can simply set your camera self timer to 2 sec. but this can be annoying when you quickly want to take lots of photos as the Auroras are bursting out in the sky above you! We recommend a wireless remote so you can keep your hands in your pockets (and save a few fingers from frost bite).
Clothing:
Chasing the Northern Lights in Iceland trying to catch that perfect image of the elusive natural phenomenon also known as Aurora Borealis, will have you standing outside in the freezing cold for hours. So please layer up! But don’t take our word for it, here’s how the experts in Northern Lights hunting recommend layering up Like a Viking!
Location:
Make sure you don’t set up on private land as you might piss off the locals, park safely and away from the road, and stay away from traffic!
Have fun, stay safe and share your photos with us on our Facebook Page because we’d love to see how you get on with our How to Photograph the Northern Lights guide 🙂
